Showing posts with label metal. Show all posts

6.09.2013

Brass Pendant- How I Did It!

Heya! So with all the new jewelry going up in my shop, I thought you might enjoy a little behind the scenes peek on how some of it is made! The following is a pendant that I made for myself and I'll show you how I did it!

 1- Starting with a flat brass sheet. I believe it was somewhere around 18-20 gauge.

 
 2- I used my super nifty circle cutter (my Christmas gift last year!) and a heavy brass hammer to cut the circle for the pendant out of the sheet. The cutter can cut circles of many different sizes. You secure the metal between the two steel plates with the corresponding hole size you'd like to cut. You then insert the die (the cylindrical piece in the first and third pictures that actually does the cutting) into the hole and pound the ever loving crap out of it till it cuts all the way through the metal!

 3- Sand and polish till shiny! (I shall spare you the tedium by only using one picture. But please note, this takes FOREVERRRRRRRR!!!) Basically you work your way down through increasingly smoother grits of sandpaper (I use about three different ones) and then polish and smooth further with steel wool.

 
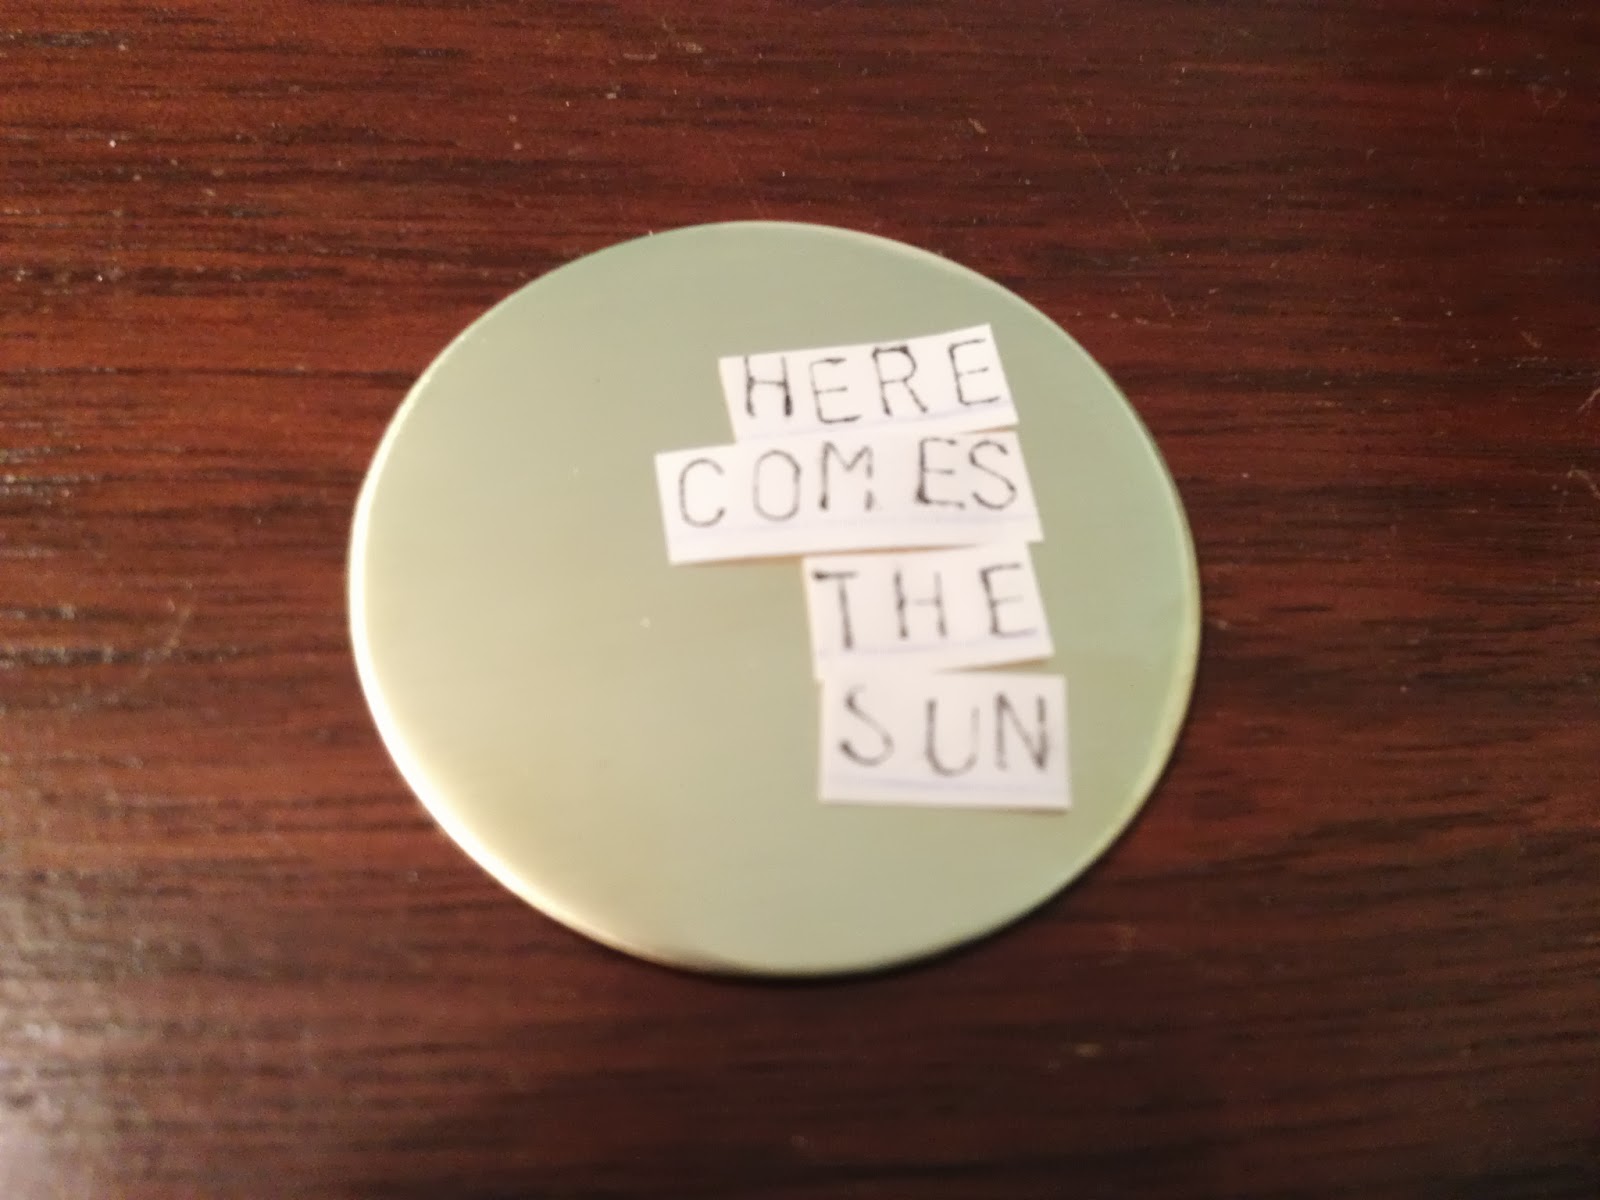
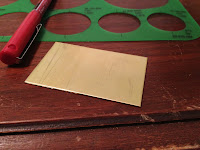
 4- I pulled out my metal stamps and used an ink pad to stamp the desired phrase onto paper. ("Here comes the sun" from one of my favorite Beatles songs) Cut up, it helps me decide the placement of the stamps on my piece and to make sure everything will fit.


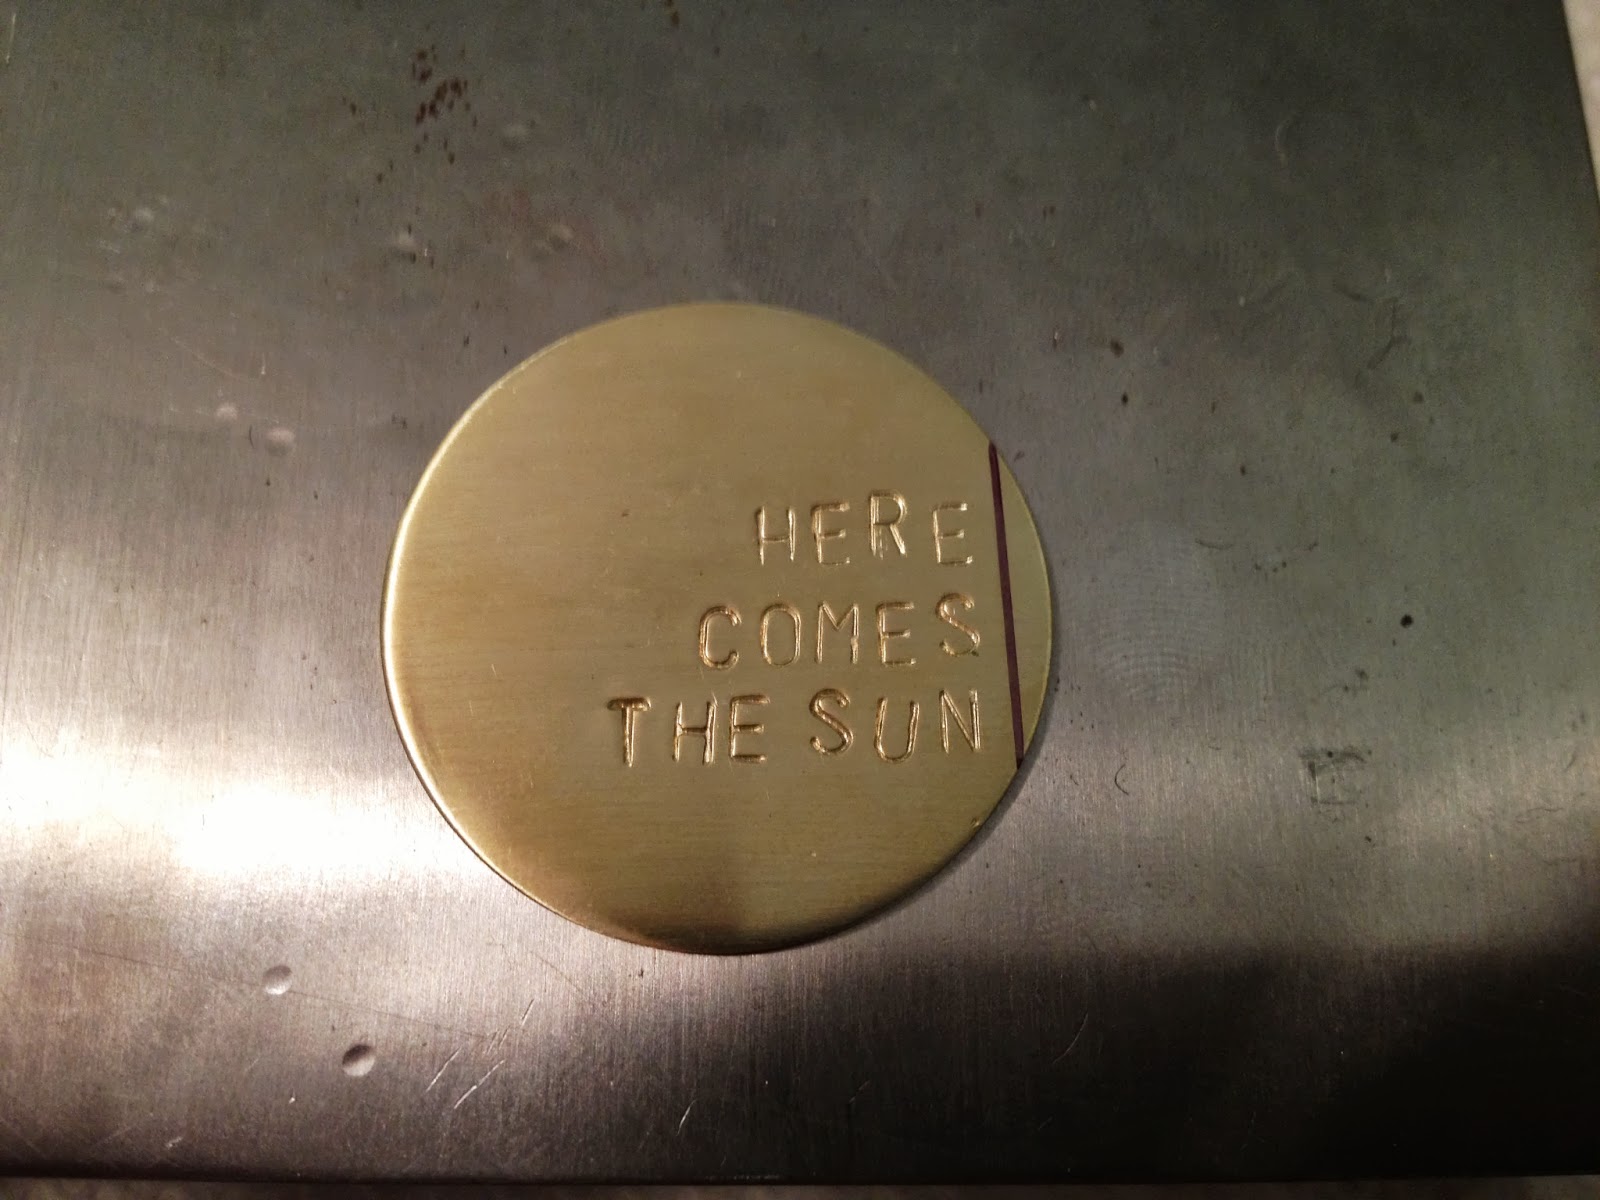
5- Once I had decided my placement, I drew a guide line down the right side of the circle. I used this to line up my stamps starting from right to left on each line. The stamping is done on a steel block (which is the shiny silver behind the brass). This gives you a nice strong base. Wood and other softer surfaces have too much give and bounce and would not produce a clean deep stamp. When the metal is pressed between the steel block and the steel stamp, it is compressed rather than pushed outward thus keeping your piece flat.

6- A bit more sanding and polishing to remove the sharpie line

 7- Deciding I wanted it textured, I used another hammer with rounded head to essentially beat the metal into submission :)
This is also done on a steel block (which you can now see the entirety of) for the same reason as above. 
8- This nifty little gadget is a metal hole punch. Each end has a different size punch you use the handles to screw down into and cut the metal. Similar concept to the hole cutter only using the pressure from the screw instead of the hammer. (Also, much tinier circles) This is what I used to add the hole in my pendant that it will hang from.

9- Voila! With the addition of a jump ring and a chain, the pendant is ready to wear!

8.20.2012

So hip to be...

...anything but round!

So my next semester of jewelry class starts tomorrow, and in honor of that I'd like to take a moment to revisit the last one! One of our projects was to create a ring with a stone in it. The catch? The ring couldn't be round. A ring that's not round? What?!? Turns out though that its not only possible, but pretty darn comfy as well!

I know I shared the final product of my square ring, but I thought you might be interested in how I made it! I took a few in process shots as I went along so we can do a kind of ring making how-to (slightly abridged)

First we start with the raw materials: Silver bezel wire, 18gague sheet of sterling silver, and the stone which was a rutilated quartz. I really designed the whole pice around this amazing stone. You cant see quite how amazing it is in this photo, but you will get the full effect later on. Essentially it is a quartz crystal with deposits of other minerals inside creating the striations you will see. Precious stones? I can take them or leave them. Its stones like this that really draw and fascinate me with their absolute uniqueness!

 Before I started, I made a model of the ring shank (the part that goes on your finger) first out of card stock, and then out of copper to make sure the size and fit worked out with my finger and the stone. Then based on the measurements and adjustments from the models, I began measuring and cutting the silver sheet

 More measuring, more cutting. I trimmed the sheet and then drew out the design for the ring. I then used small files to create the grooves where the sheet would fold to create the shank.

 No, this photo was not taken by accident. This happens to be a photo of my saw blade I was using to cut out the shank shape. That bit of white stuff half way down the blade? Yeah, that's my skin. I've still got the mark on the side of my finger where it bit me. Note to self: saw blades are sharp!

 After nearly chopping off my finger, This is what I'm left with after all my cutting and filing. Now for the folding! Yeah, turns out you can fold metal. Who knew!?!

 To get the metal to fold, I first had to go through a process called annealing. You heat the metal with a torch (YAY FIRE!) until it becomes softer and more pliable. I then folded the ring into the desired shape to create the shank and soldered the bottom closed. Its hard to hold the camera and the torch at the same time, so unfortunately I don't have any pictures of that. You'll just have to believe me when I tell you that its pretty much the most awesome thing ever. Pyro? Nah, not me.

 Now it even stands up on its own!!! :)

 Next step is to fit the bezel wire around the stone. This is what holds the stone in the ring. I took the longer strip of wire we saw in the first pic, shaped it around the stone, trimmed it, and then soldered it closed to create the bezel! It has to be super tight to keep the stone in place, so in the process of fitting it I maaaaaay have gotten the stone stuck a few times... oops. :)

 Sand and smooth all the scratches out of the shank to prepare for the next step!

 I used half round sterling silver wire (which is just wire that's flat on one side) to create the designs on the sides of the shank. I cut, filed, soldered, trimmed, and filed some more for each of the individual little lines you see above. Can we say tedious? Well, even if you can't, I can and it was. Totally worth it though.

  Ok, so between here and the last photo I got a little distracted and forgot the whole camera thing. I was so close to the finish I just powered through it, so you'll just have to be satisfied with the commentary. To get from the last pic to this, I soldered the empty bezel to the top of the ring creating a little cup the stone would sit in. From there, there were hours upon hours of sanding, filing and polishing... And by hours, I don't mean a couple. I can't even tell you how many I put in from start to finish. Its almost just uncountable. Then I set the stone in the bezel and pushed the sides of it in to hug the stone super snuggly :) TADA!!! Finished ring!

BLING! Perfect fit, if I do say so myself. Here you can really see all those wonderful gold striations that make this such an amazing stone. Every one is completely unique!

 Side view! Because that totally needed an explanation....

And here is my ring with a couple others from the class in the display case at school. See how wonderfully that stone GLOWS in the light? I'm still totally in love with it and wear it whenever I can find an excuse!

And that, my dears, is how you make a square ring.

Till next time, guys and gals!
-Lindsey :)